How to Set Up a Charging Station for All Your Devices at Home

Setting up a dedicated charging station for your devices can simplify your daily routine and keep your space neat and organized. Whether you have smartphones, tablets, smartwatches, or other rechargeable gadgets, a well-planned charging area helps avoid clutter and ensures your devices are always ready to use.
In this guide, we’ll walk you through key steps to create an effective charging station at home, including choosing the right location, selecting equipment, managing cables, and adding useful accessories.
Why Have a Charging Station?
Before diving into setup ideas, consider the benefits of having a central spot for charging:
– Organization: Keeps all devices and chargers in one place.
– Safety: Reduces the risk of tripping on cords or damaging devices.
– Convenience: Easily access devices when they need charging.
– Efficiency: Avoids overcrowding electrical outlets around the house.
Now, let’s explore how to design your own charging station.
Step 1: Choose the Perfect Location
Start by identifying the best place in your home for the charging station. Consider these factors:
– Accessibility: Pick a spot you frequently use, such as near the living room couch, on your desk, or an entryway table.
– Power Availability: Make sure there is a power outlet nearby or plan to install one.
– Space: Look for a surface large enough to hold multiple devices comfortably.
Popular options include a kitchen counter corner, a shelf in the home office, or a small table in the bedroom.
Step 2: Select the Charging Equipment
Choosing the right chargers and power sources is essential. Here are some common options:
Multi-Port USB Chargers
These devices feature multiple USB ports, letting you plug in several devices simultaneously. Look for chargers with:
– Fast charging capabilities.
– USB-C and USB-A ports for versatility.
– Safety features like overcurrent protection.
Wireless Charging Pads
If your devices support wireless charging, pads or stands can reduce cable clutter. Consider:
– A pad that fits multiple devices.
– A stand that holds your phone upright.
Power Strips and Surge Protectors
To protect your devices from power surges, use a surge protector with enough outlets for your charging needs.
Step 3: Organize and Manage Cables
Cables can quickly become tangled and messy, so mindful cable management is key.
– Use cable clips or holders to route cords neatly.
– Velcro straps or twist ties can bundle excess cable length.
– Consider charging docks or stands designed to hide cables.
– Label cables if multiple similar cords are in use.
Step 4: Add Storage and Support Accessories
Adding storage options helps keep the area tidy and functional.
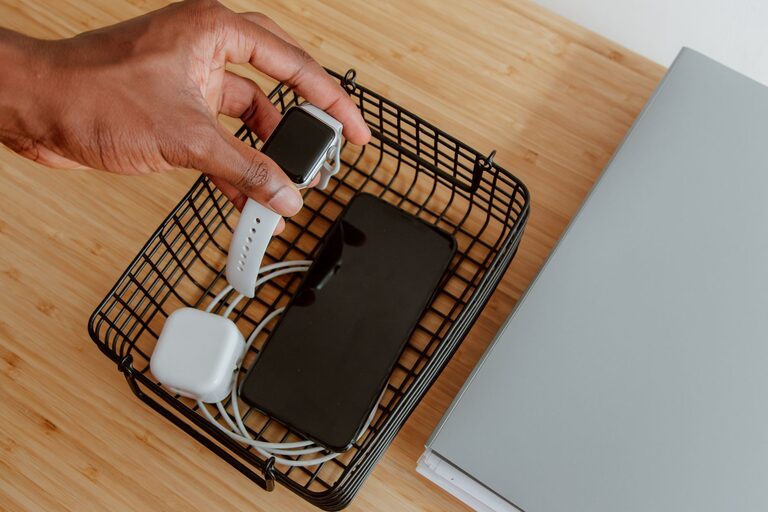
– Small trays or baskets can hold smaller items like earbuds or charging adapters.
– Phone and tablet stands keep devices visible and upright while charging.
– A charging drawer or box with ventilation can hide devices and cables for a cleaner look.
– LED lights nearby improve visibility for evening charging.
Step 5: Maintain Your Charging Station
Once set up, regular maintenance will keep your charging station working smoothly.
– Periodically clean dust and debris from chargers and cables.
– Check cables for fraying or damage and replace if needed.
– Reorganize cords if they become tangled.
– Update or replace chargers as technology advances.
Bonus Tips for an Efficient Charging Station
– Limit the number of devices charging at once to avoid overloading outlets.
– Keep your charging station away from water or heat sources.
– Use fast chargers if you have devices that support quick charging.
– Encourage family members to charge their devices only at the station for consistency.
Conclusion
Creating a personalized charging station doesn’t have to be complicated. With the right location, charging equipment, and cable management, you’ll have a neat, efficient space that keeps your devices powered and your home organized. Whether you’re tech-savvy or a beginner, these simple steps will help you charge smarter every day.
Happy charging!